A Step-by-step Guide to Making Perfect Sushi Rice at Home (By our Sushi Chef)

Rice, rice baby! Yep it’s the delicious white sticky yum grain that binds our sushi dishes together and we’re here to guide you step-by-step on how to make your very own at home. OKAY, so we’d usually recommend heading over to Netil360’s rooftop restaurant to savour our little mouthfuls of sushi heaven, but if you’re up for a bit of DIY sushi fun, here’s our second best option - a guide from our very own Netil360 sushi chef. That’s right, he’s letting you into some trade secrets on how to get your rice slightly sweet, sticky and oh so very nice!
Making sushi rice at home may seem daunting at first, but fear not, with the right technique and ingredients and the right guidance, it can be easy and delicious. Whether you're a sushi enthusiast or a rice novice, this guide will provide you with the essential steps to create delectable sushi rice right in the comfort of your own home. So, grab your best pinny and roll up your sleeves and prepare to make the best sushi rice of your life.
“Rice is great if you’re really hungry and want to eat two thousand of something.”
The (p)rice is right: choosing the best rice
Choosing the right rice is first and foremost your absolute key ingredient to success. Opt for short-grain Japanese - style rice, such as Calrose or Sushi Rice (japonica) which have the perfect balance of stickiness and tenderness necessary to hold the sushi rolls together. You should be able to find these in your local supermarket and here are some of the more well-known brands we think work well:
Nishiki
Available at many Tescos Nishiki rice has a great flavour and texture and claims that you don’t need to rinse it, we say rinse it anyway to make sure!
Yutaka
Not to favour one supermarket over the other, here’s Yutaka available at many Sainsbury’s stores. Yutaka means ‘good harvest’ which is usually a sign of a good food.
Natural Earth Sushi Rice
Available online
Avoid using long-grain or basmati rice as they lack the necessary stickiness, if absolute desperate, you could try risotto rice, but we recommend spending the time seeking out sushi rice to get optimal results.

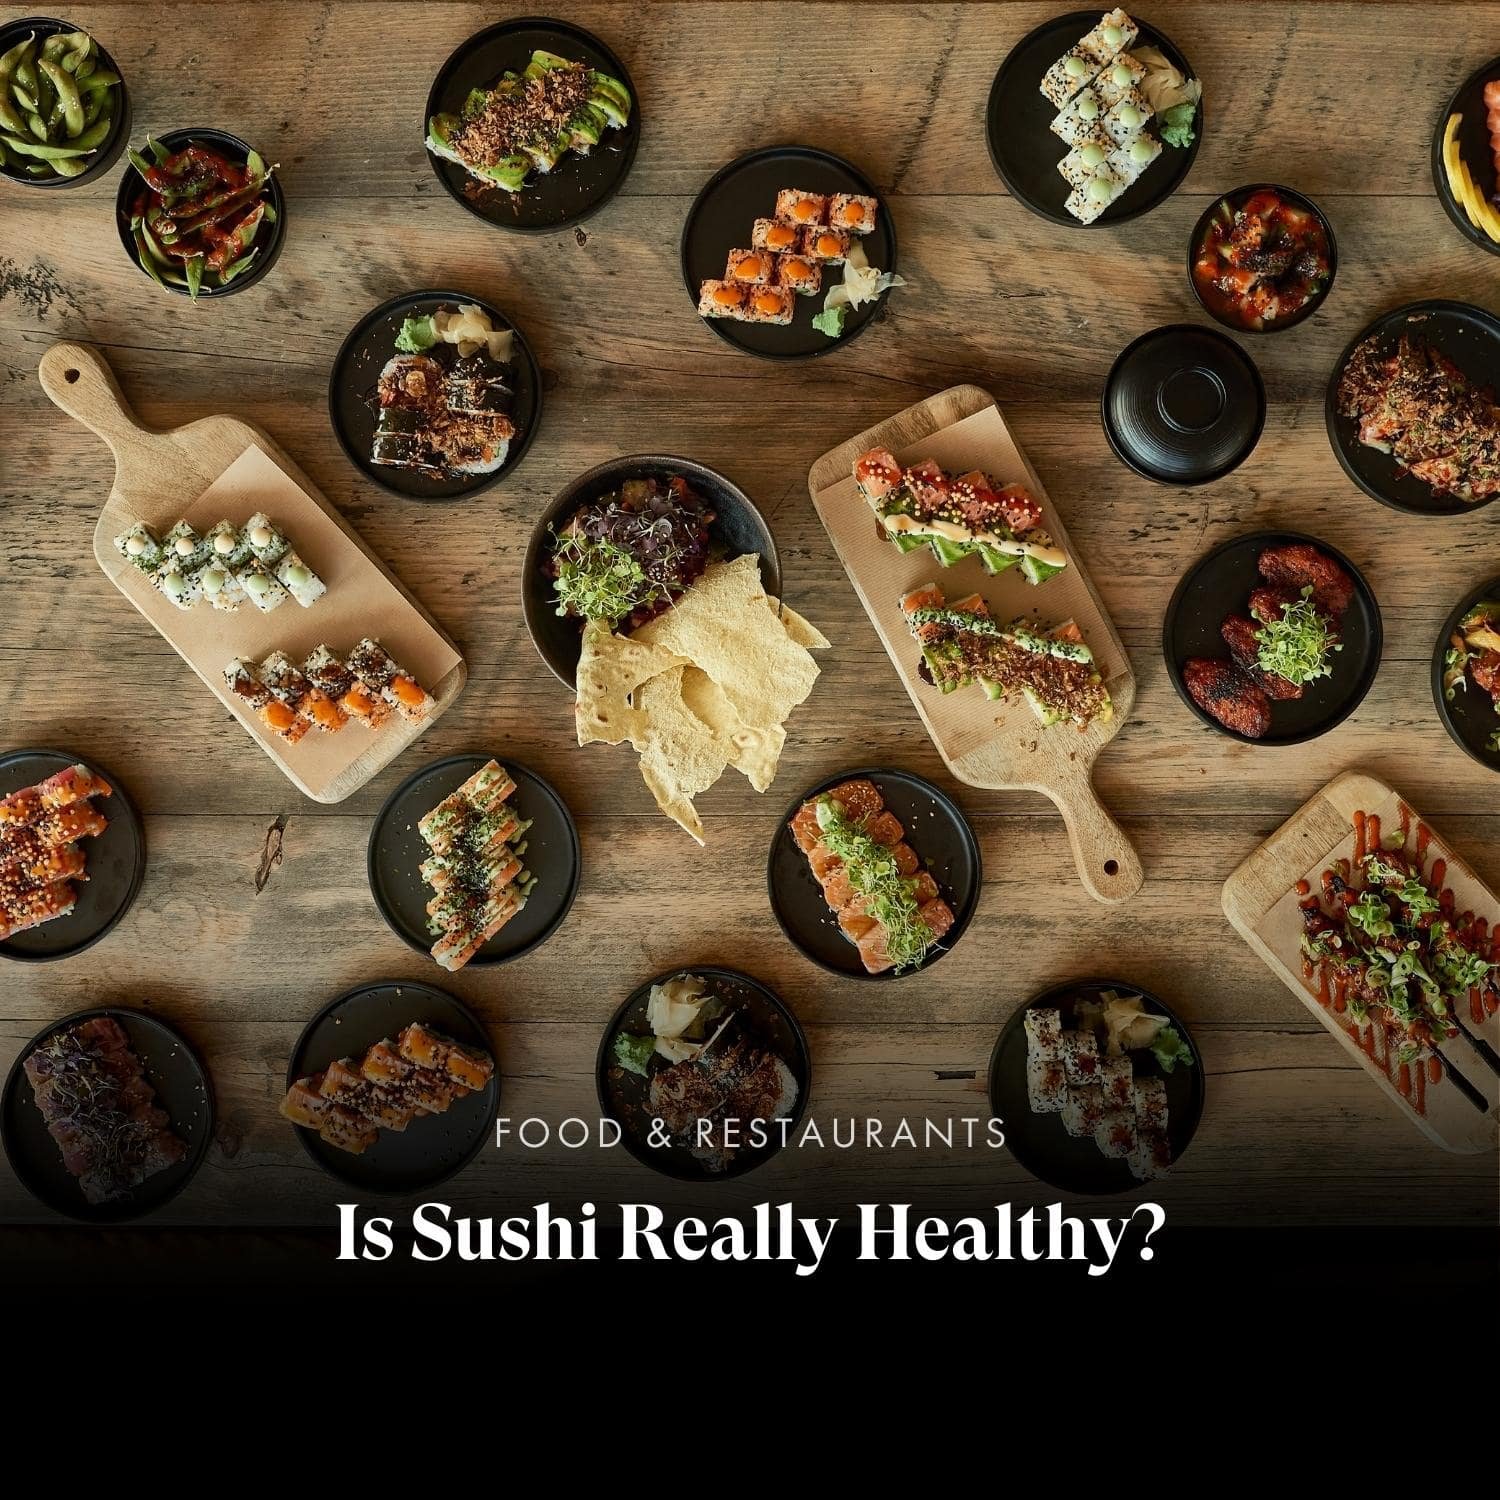
Yummy sticky sushi rice helps make our Japanese restaurant’s sushi rolls perfect
Rinse, rinse and rinse again!
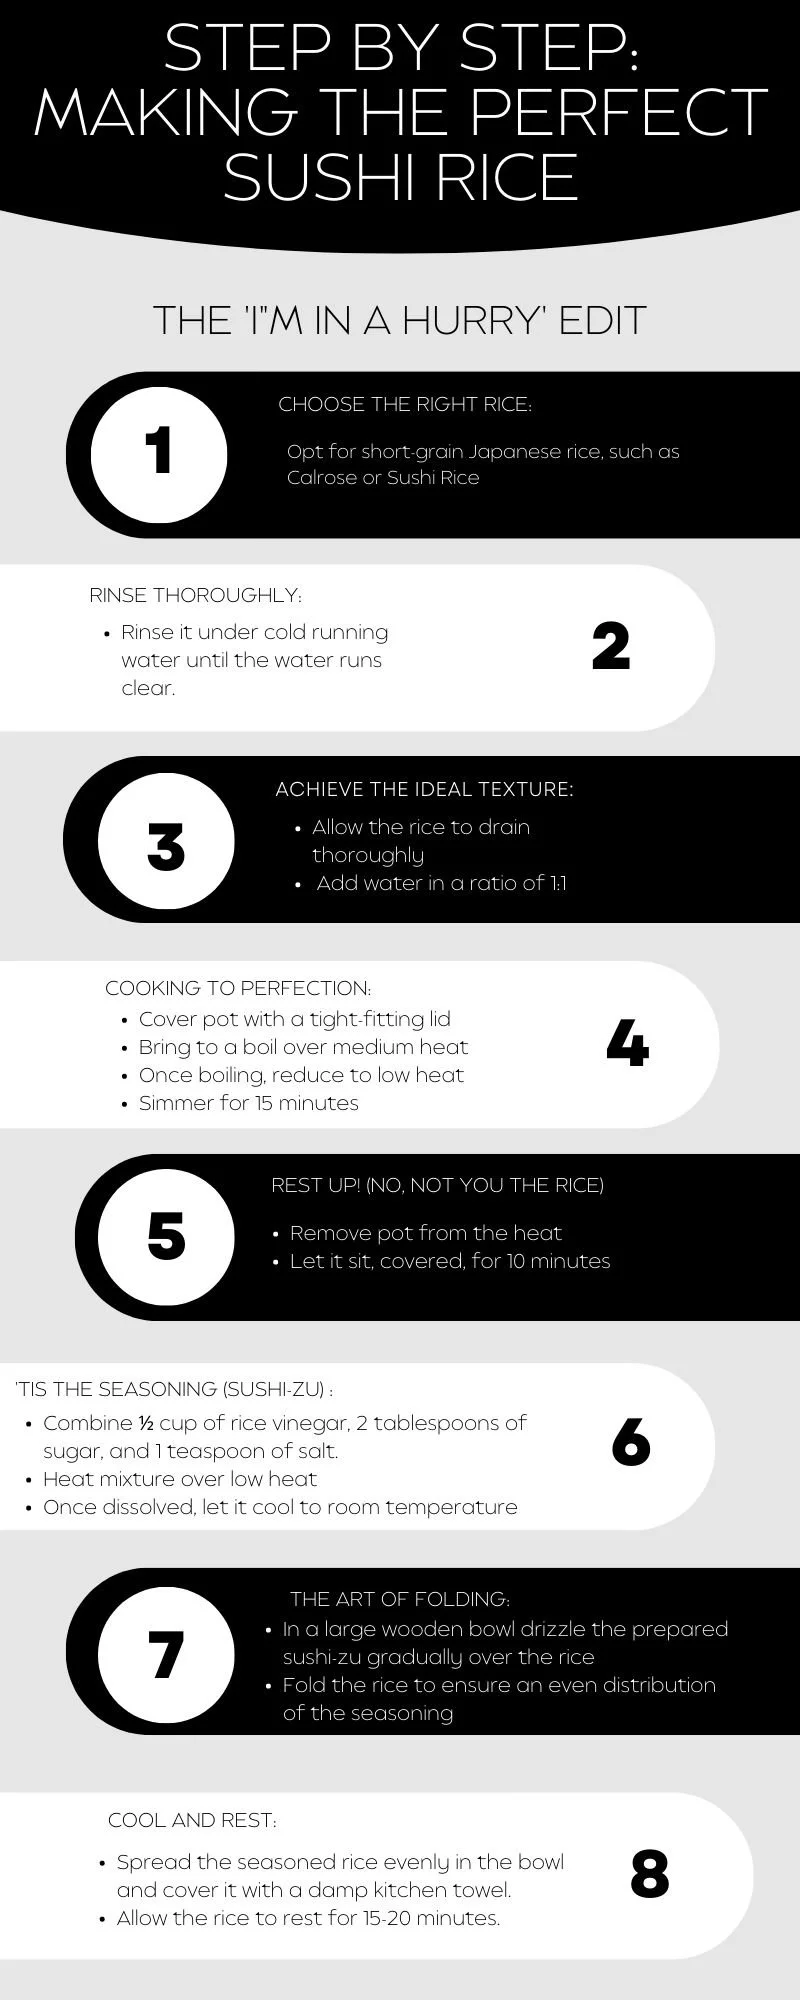
So you’ve found the perfect rice, now it’s time to give that rice some TLC. Many questions whether it’s necessary to rinse your rice, but we think it makes all the difference. So, pop it in some cool water and swill the rice around with your fingertips. It will become cloudy, that’s the excess starch running off it which is what you want. You can also place the rice in a fine-mesh strainer, or colander and rinse it under cold running water until the water runs clear. Removing the excess starch in this way will help prevent the sushi rice from becoming too sticky or clumpy. Once you’ve rinsed the rice, let it drain for 20 -30 minutes before cooking.
Rinse and repeat
〰️
Rinse and repeat 〰️
How to cook the rice: it’s all in the timing (and the ratios, and what the instructions say on the packet…)
Firstly, pop your rice in a decent pan (i.e. ideally non-stick and/ or heavy bottomed).
Now it’s time to add the cold water, making sure you get the ratio of water to rice right. We recommend 1:1.1 (one part rice to 1.1 parts water) as a good starting point, but it’s best to check what the instructions say on the packet as differing types can vary. Short-grain rice for example usually requires slightly less water, so double check the instructions to be sure.
Once you’ve added the water, bring it to a boil, reduce the heat to low and cover the pot. Simmer until the water has been absorbed, or for about 18-20 minutes.

Seasoning the rice
While the rice cooks, it's time to put your feet up. Nope! Now’s your moment to prepare the sushi rice seasoning, known as "sushi-zu." In another saucepan, mix ½ a cup of rice vinegar, 2 tablespoons of sugar, and 1 teaspoon of salt. You can also find seasoned vinegars that already have the salt and sugar in it, if you’d like to miss a step.
Once all the ingredients are combined, them them over a low heat, stirring continuously until the sugar and salt granules dissolve completely, making sure the mixture doesn’t boil. Remove the mixture from the heat and let it cool to room temperature.
Folding your sushi rice: it’s an art but it’s not origami
After the rice has cooked and left to rest for around 10 minutes, transfer it into a wooden or plastic bowl, making sure there is plenty of space to be able to fold the rice. We would usually recommend a wooden bowl if you have it as it helps absorb excess moisture, so the rice doesn’t become too wet.
Drizzle the prepared sushi-zu carefully and bit by bit over the rice while using a wooden spatula or spoon to gently fold and mix in the vinegar mixture. Folding carefully helps with an even distribution of the seasoning without crushing or compromising the grains.

Imagine preparing your sushi rice with a view like this? We like it up on Netil360 rooftop.
Cooling and resting: give your rice time to kick back and relax before serving
Sushi is cool, well we think so anyway so make sure you allow your sushi rice some time after cooking to cool down and rest before serving. This will help maintain an ideal consistency. Evenly spread your rice in the wooden or plastic bowl and cover it with a damp kitchen towel. A clever little trick our chef at Netil360 restaurant picked up that prevents the rice from drying out and helps it cool gradually.
Allow the rice to rest at room temperature for about 15-20 minutes.
So, now you’ve created the perfect sushi rice, it’s time to fill it with delicious sushi fillings (think fresh fish, or avocado and cucumber) the world is your oyster, or salmon should we say? … Invite your friends over and enjoy an evening of satisfyingly homemade sushi - just the way you like it.
Or, if all else fails rock up to Netil360 rooftop and enjoy some sushi with us!

If you’re feeling lazy, why not join us for some our sushi restaurant’s delicious rolls and edamame side. YUM!
-
Rice vinegar is recommended for sushi rice seasoning because of its mild and slightly sweet flavour. Regular vinegar tends to be stronger in taste and this might overpower the delicate flavours of the sushi. We recommend using rice vinegar and balancing it with salt and sugar for the best flavour.
-
It is generally recommended to consume sushi rice within 2 hours of preparation. Otherwise the rice may start to dry out and lose its ideal texture. If you need to store the rice for a longer period, it is best to refrigerate it and gently reheat it before use.
-
Freezing sushi rice is generally not recommended as it may significantly affect the texture and taste. It’s best to enjoy sushi rice fresh. If however, you have leftover rice, why not store it in the refrigerator for a day or two and use it for other dishes like stir-fries or rice bowls?
-
Absolutely! You can make sushi rice in a rice cooker by following the manufacturer's instructions for cooking short-grain rice. Once the rice is cooked, transfer it to a bowl and follow the steps for seasoning and cooling as mentioned in the article.